The majority of leaking or dripping taps are caused by split or worn washers and the most common type of leaking washer is called a ‘jumper valve washer’.
Jumper valve washers are found in the majority of basin taps, shower taps, garden taps, laundry taps and older style kitchen tapware. Note that tapware that is not of the mixer tap type or ceramic disk type will have a jumper valve inside it.
So, by understanding how to replace a jumper valve washer will not only save you water but will also save you money. Replacing a leaking tap or jumper valve washer is something you can easily do yourself as it’s one of the few plumbing jobs that isn’t regulated.
By following the below 7 DIY steps you’ll find it easy to stop your taps from dripping.
But remember, if you’re not sure or still uncertain after reading this blog then don’t risk it, call a licensed master plumber at Essendon Plumbing Services on 1300 231 976.
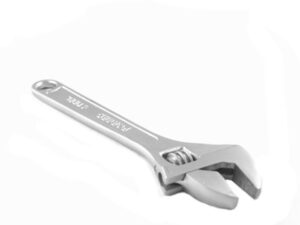
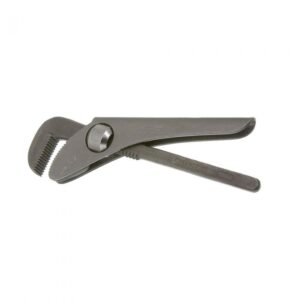
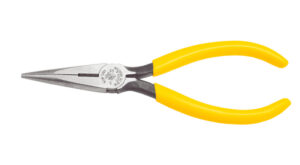
Firstly, Here Are the Tools you Will Need to Replace a Jumper Valve Washer
The 7 DIY Steps to Changing a Jumper Valve Washer
Step 1 – Turn Off Your Water Supply
Turn off the mains water supply, this could be the most important of all steps. If you pull apart a tap before turning the water off, you’re going to have a major flood on your hands.
The mains isolation valve is usually found at the water meter located at the front of your property just inside the boundary. In a flat or apartment there is usually a bank of water meters located in a central location or at each apartment.
If you’re not sure how to turn off your water or where your water meter is located, see our blog ‘How Do I Shut Off My Water Supply’.
Step 2 – Drain the Hot & Cold Pipework Down
Drain the hot and cold pipework down at the taps by fully opening both hot and cold taps until the water stops flowing. To remove any air in the system and help drain the water, downturn another hot and cold tap in the house and leave it open. Once the water has stopped flowing you are ready to disassemble the tap. If the water doesn’t stop flowing, you may not have turned the meter off hard enough.
Step 3 – Disassemble the Tap
Disassemble the tap by first removing the button at the top of the tap spindle, or there may be a locking nut under the tap handle, then loosen and remove the handle. Remove the tap shroud by unscrewing anti-clockwise, which will expose the tap spindle. Sometimes the shroud can be on tight or stuck with soap scum, so you may need to place a rag around it and use a footprint wrench to get it loose - being careful not to damage or scratch the shroud.
Not sure where to buy the tools, see our blog ‘The Best DIY Plumbing Tools to Buy at Bunnings’ to help you out.
Step 4 – Remove the Tap Spindle Body
Remove the tap spindle body by placing an adjustable shifting spanner, also found in the above blog, on the nut of the spindle and turn it anti-clockwise. Fully remove the spindle to expose the jumper valve.
The stem of the jumper valve should now be exposed either stuck in the spindle body or sitting on the tap seat in the housing. Jumper valve bodies are made of either plastic or brass. If sitting in the tap body, use a pair of long nose pliers to remove the jumper valve.
Once removed you should be able to see either a split in the washer or the rubber has worn down or perished.
Step 5 – Replace the Jumper Valve Washer
Firstly, when purchasing a new jumper valve washer from your local plumbing hardware shop, we suggest you spend a little extra and buy the best quality jumper valve washer you can afford. It’s best to replace both the hot and the cold tap washers at the same time, as you already have the water turned off. Make sure there is no debris sitting on the valve seat, then place the washer inside the tap spindles.
Now place the spindle body back over the housing and screw them down clockwise till hand tight, once hand tight, nip up gently with a shifting spanner, there is no need to overtighten.
Step 6 – Place Handle Back On & Turn Water on at the Water Meter
Before replacing the shroud, turn the taps off by placing the handle back on the spindle and winding down in a clockwise direction. Now remember to turn the other set of taps off in the house before turning the water supply back on at the water meter.
Go back to the taps you just re-washered and open them both up to flush any debris out before closing off the tap again.
Step 7 – Test for Leaks & Replace the Shroud
Test for drips or leaks by opening and closing the tap several times. It should be easy to open and close and not require much pressure to turn off. Once you’re happy you’ve fixed the leak, remove the handle again, install the shroud then replace the tap handle and locking button or screw. That’s all there is to it, job done!
Contact Us
If you need help from a Licensed Master Plumber, then call and speak to our team today. Contact Essendon Plumbing Services on 1300 231 976 or book online. We’re available 24/7, 365 days a year.


 Case Study – Burst Water Pipe in Essendon

